How To Clean Stained Grout And Make Your Tiles Look New Again
There’s nothing quite like the crisp, clean look of freshly laid tile. But over time, the grout lines that frame those beautiful tiles can become a magnet for dirt, grime, and stains, making the entire surface look dull and unhygienic. Whether it’s musty dark spots in the shower, greasy splatters behind the stove, or just general dinginess in a high-traffic hallway, stained grout is a common headache for homeowners.
The good news is that you don’t have to live with it, nor do you have to rip out your tile and start over. Most grout issues, from simple stains to minor damage, are completely fixable with a little bit of know-how and the right approach. It’s one of those deeply satisfying DIY projects that can dramatically transform a room in an afternoon.
In this guide, we'll walk you through everything you need to know, just like a friendly expert on the phone. We’ll help you assess the condition of your grout, identify what’s causing the stains, and provide step-by-step instructions for cleaning, repairing, and protecting it for the future.
Step 1: Assess the Grout and Identify the Stain
Before you reach for the nearest bottle of cleaner, let's play detective for a few minutes. Properly diagnosing the problem will save you time and ensure you use the right method, especially since certain cleaners can damage specific types of tile.
Here’s what to look for:
-
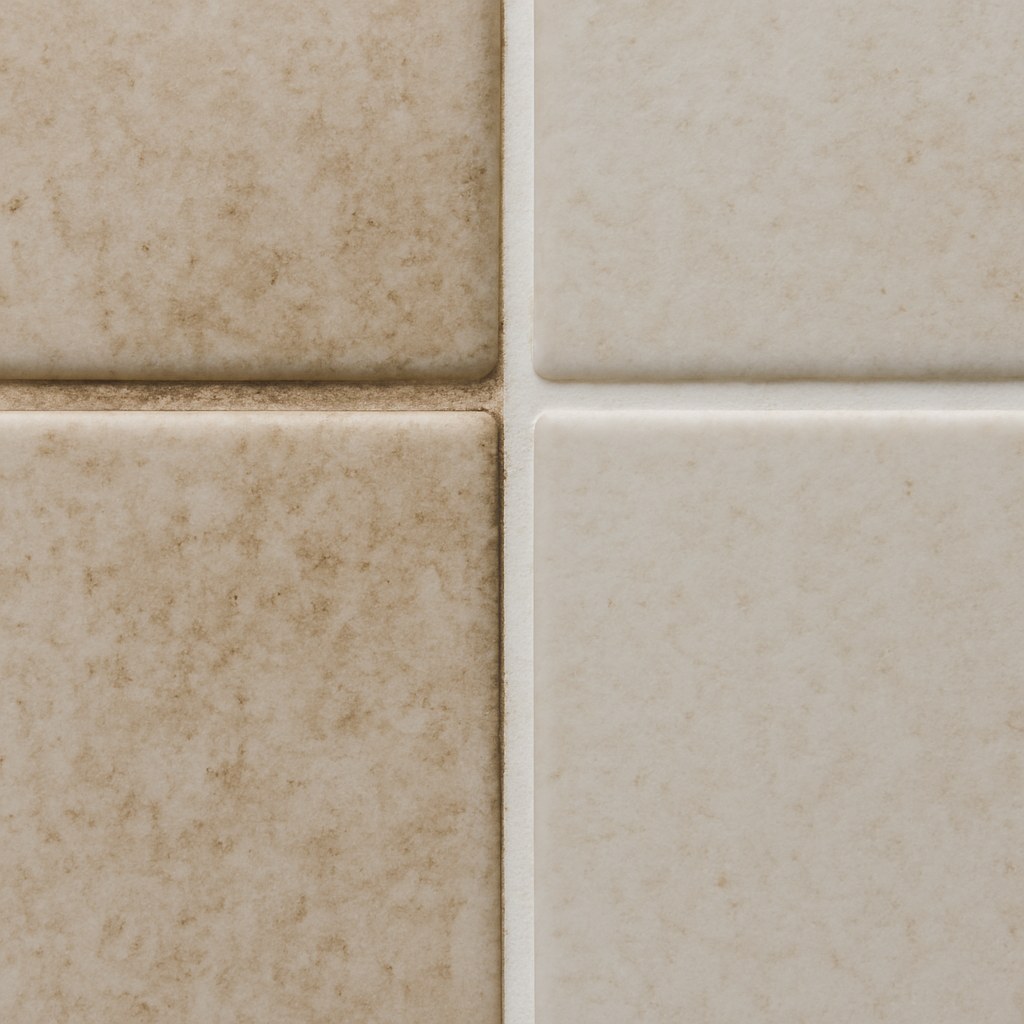
Check for Physical Damage: Look closely at the grout lines. Do you see any cracks, missing chunks, or sections that look sandy? Gently rub a small area with your fingertip. If it crumbles or feels powdery, the grout is failing and will need to be repaired, not just cleaned. We’ll cover how to handle that in a bit.
-
Identify the Stain Type:
- Mildew or Mold: Are the stains dark black or greenish spots, particularly in a bathroom or other damp area? Is there a musty smell? This is a classic sign of mildew.
- Oil-Based Stains: In the kitchen, especially on a backsplash, do the stains look dark and feel slightly greasy or sticky? Rub a paper towel over a spot. If it picks up a greasy residue, you’re dealing with oil.
- Organic Stains: Do you have spots from spilled coffee, wine, juice, or muddy footprints? These are organic stains, and they often respond to a different type of cleaner.
-
Test Your Grout’s Sealant: Find a clean, unstained grout line and drip a few drops of water onto it. Watch it for about a minute. If the water beads up on the surface, your grout is sealed. If it soaks in immediately and darkens the grout, the sealant has worn off, leaving it porous and vulnerable to future stains. This is a crucial piece of information for the final step.
Once you’ve determined whether your grout needs repair or just a deep clean, you can move on to the fix.
Step 2: When Cleaning Isn't Enough—How to Repair Damaged Grout
If your assessment revealed crumbling, cracked, or missing grout, no amount of scrubbing will solve the problem. Damaged grout not only looks bad but can also allow water to seep behind your tiles, potentially leading to much bigger issues down the line.
DIY or Call a Pro?
For small, localized repairs, this is a very manageable DIY task. However, if the damage is widespread, you might want to call in a professional.
- DIY It: If the damaged area is less than 10 linear feet and contained in one area.
- Call a Pro: If you have damaged grout spanning multiple rooms, or if the total damaged length exceeds 10 linear feet. Professional regrouting can cost anywhere from $5 to $25 per square foot, but it ensures the job is done correctly and protects your home from water damage.
How to Replace a Small Section of Grout:
Tools & Materials:
- Safety glasses and gloves
- Grout saw or removal tool
- Shop vacuum or regular vacuum with a hose attachment
- Pre-mixed grout (choose a color that matches your existing grout)
- Grout float
- Sponge and bucket of clean water
- Penetrating grout sealer
Instructions:
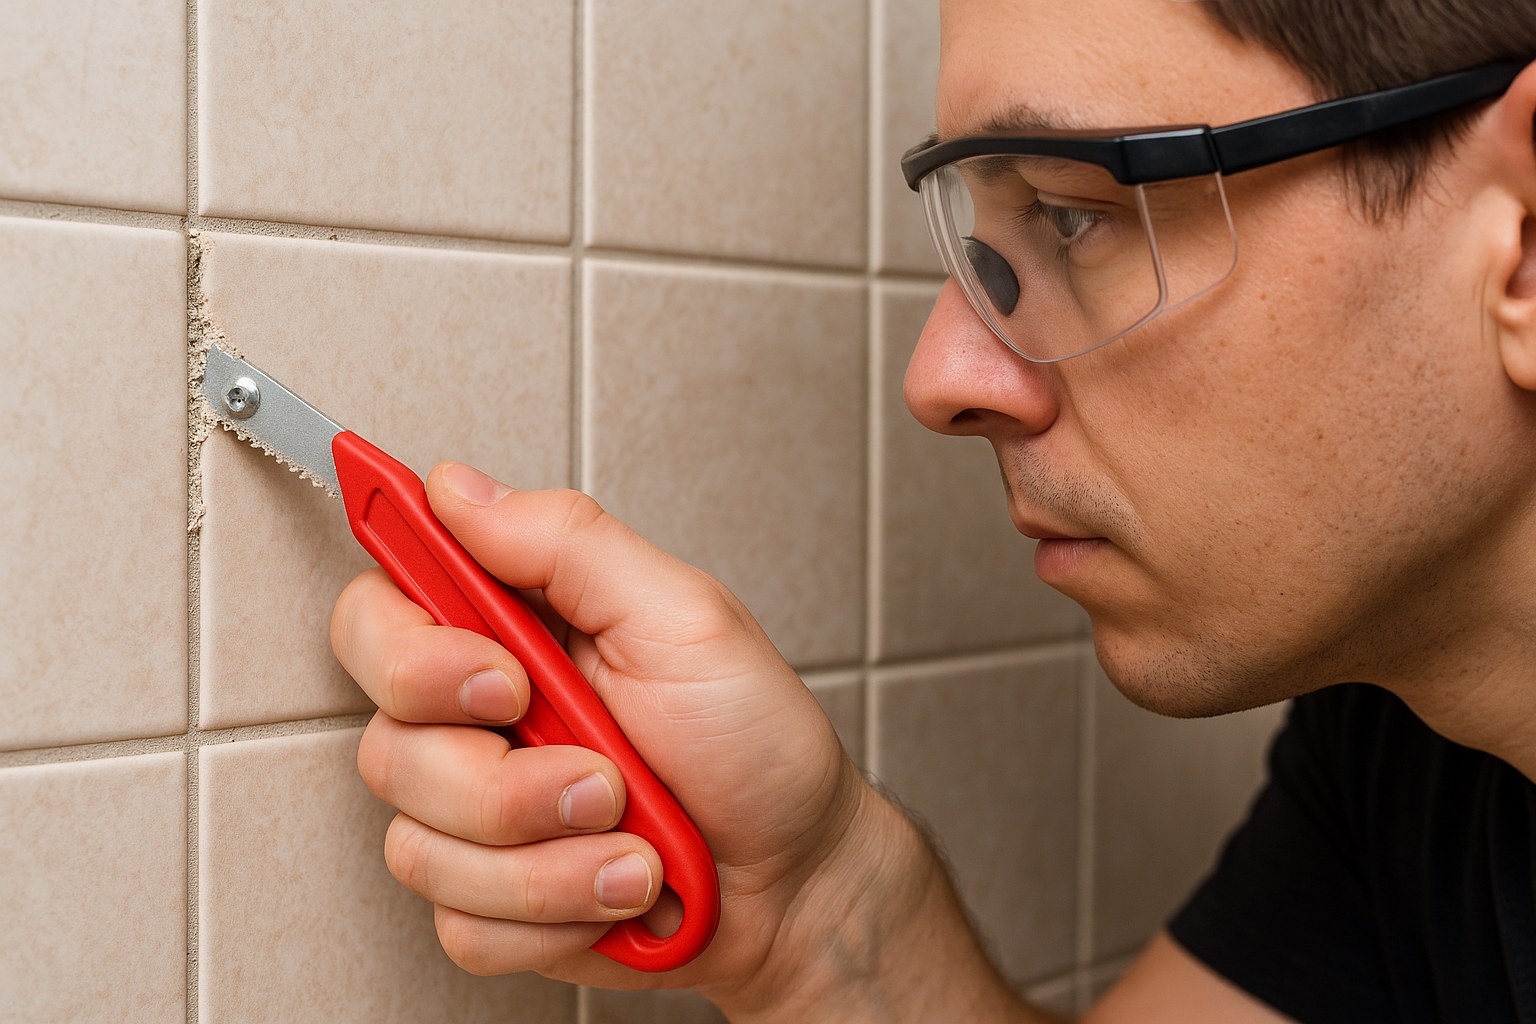
- Safety First: Put on your safety glasses and gloves. Removing grout can kick up a lot of dust and sharp particles.
- Remove the Old Grout: Use your grout saw to carefully scrape out the damaged grout. You need to remove at least 1/8 inch of depth for the new grout to adhere properly. Work slowly and be careful not to scratch your tiles.
- Vacuum the Debris: Once the old grout is out, thoroughly vacuum the joints to remove all dust and loose debris.
- Apply New Grout: Following the package instructions, apply a small amount of pre-mixed grout to the area. Hold your grout float at a 45-degree angle and press the grout firmly into the joints, ensuring there are no air pockets.
- Remove the Excess: Glide the float diagonally across the tiles to scrape off any excess grout from the tile surfaces.
- Clean the Haze: Wait about 10-15 minutes for the grout to set up slightly. Then, use a barely damp sponge to gently wipe the haze off the tiles. Rinse your sponge frequently in clean water.
- Let It Cure: Patience is key! Grout needs time to cure and harden completely. This usually takes 24-72 hours; check your product’s instructions for the exact time. Avoid getting the area wet during this period.
- Seal the Deal: Once fully cured, apply a penetrating grout sealer to the new grout lines with a small brush. This is the most important step for preventing future stains.
Step 3: A Cleaning Guide for Every Type of Stain
If your grout is intact but stained, it’s time for a deep clean. Always remember to ensure good ventilation by opening a window or turning on an exhaust fan, and wear gloves to protect your hands.
How to Remove Mildew Stains
Mildew is common in bathrooms, but the right cleaner depends on your tile type.
For Ceramic or Porcelain Tile:
- What to use: Oxygen bleach (e.g., OxiClean). It’s a powerful, color-safe alternative to chlorine bleach, which can erode grout over time.
- Method:
- Mix about 1/4 cup of oxygen bleach powder with 1 quart of warm water, stirring until it dissolves.
- Dip a nylon bristle brush (an old toothbrush works great) into the solution and scrub the stained grout lines.
- Let the solution sit for about 10 minutes to work its magic.
- Scrub again, then rinse the entire area with clean water and dry with a towel.
For Natural Stone Tile (Marble, Travertine, Limestone):
- WARNING: Never use acidic cleaners (like vinegar) or harsh chemicals (like chlorine bleach) on natural stone, as they can etch and permanently damage the surface.
- What to use: A 50/50 mixture of hydrogen peroxide and water.
- Method:
- Mix the hydrogen peroxide and water in a spray bottle.
- Generously spray the solution onto the stained grout and let it sit for 10 minutes.
- Gently scrub with a soft nylon brush.
- Rinse thoroughly with clean water and wipe dry.
How to Remove Oil-Based Stains
Perfect for greasy kitchen backsplashes.
- What to use: A strong, grease-cutting dish soap.
- Method:
- Mix 2 tablespoons of dish soap into 1 quart of warm water.
- Dip your nylon brush in the soapy water and scrub the greasy grout.
- Let the solution sit for 5 minutes to break down the oil.
- Scrub again, then rinse well with clean water to remove all residue.
How to Remove Organic Stains (Food, Dirt, Drinks)
For all those everyday spills.
- What to use: Oxygen bleach powder and warm water (the same mixture used for mildew on ceramic).
- Method:
- Mix 2 tablespoons of oxygen bleach powder with 1 quart of warm water.
- Apply the solution to the stained grout with a sponge and let it sit for 15 minutes.
- Scrub with a nylon brush until the stain lifts.
- Rinse thoroughly with clean water and dry the area.
Step 4: The Final, Crucial Step—Sealing Your Grout
Remember that water bead test from the beginning? If water soaked into your grout, it’s unsealed and will quickly get stained again. Sealing your grout is the single best thing you can do to keep it looking clean.
After your grout is clean and completely dry (wait at least 24 hours), apply a good-quality penetrating grout sealer.
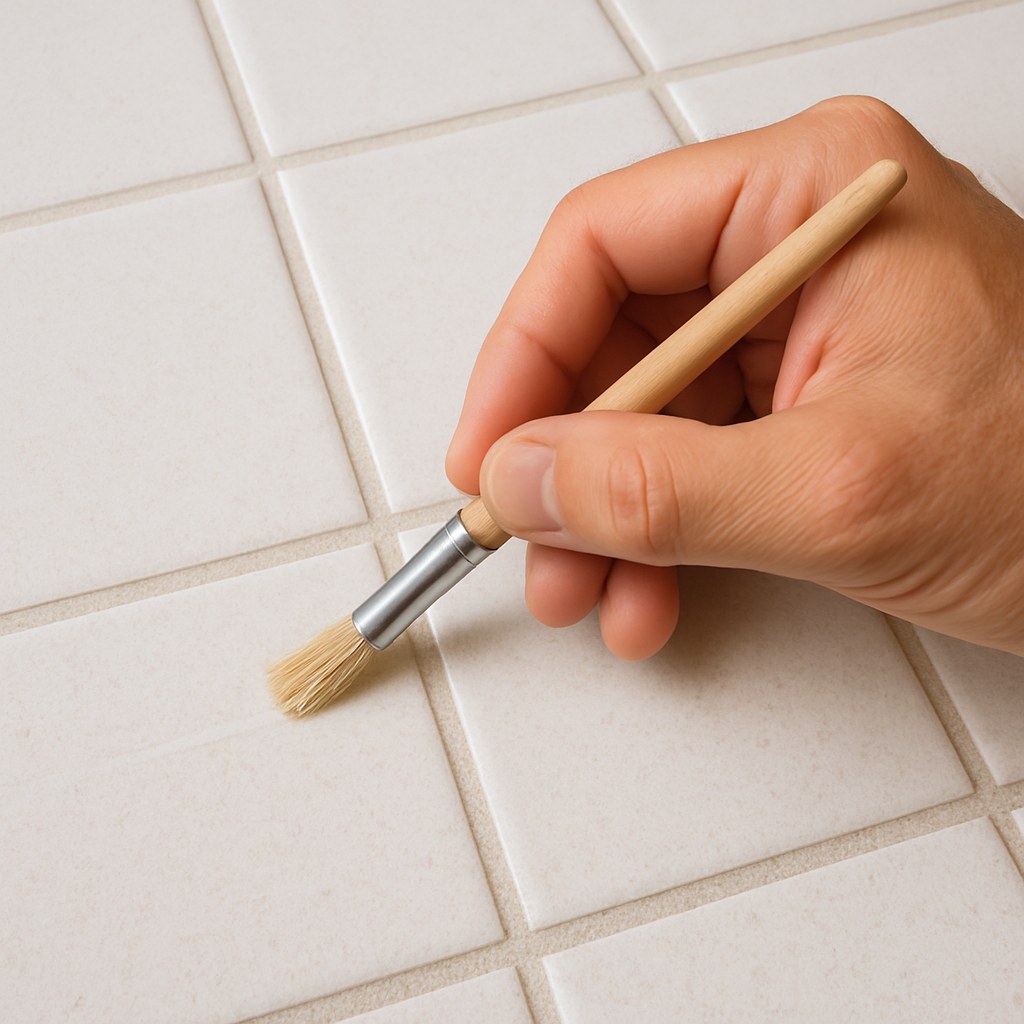
- Use a small brush or applicator to carefully paint the sealer directly onto the grout lines.
- Wipe away any excess sealer that gets on the tile surface with a cloth before it dries.
- Let it cure according to the package directions.
According to experts at The Spruce, you should reseal grout every one to two years, or more often in high-moisture areas like showers.
Final Thoughts
Bringing your tile back to life by cleaning or repairing the grout is a project that delivers instant gratification. It protects your home, improves hygiene, and restores the beauty of your floors and walls.
Want more easy-to-follow guides for taking care of your home? Download the Casa app today! Casa is your personal home management partner, filled with DIY tutorials, maintenance reminders (like when to reseal your grout!), and a direct line to trusted, vetted professionals for those jobs you’d rather leave to an expert. Take control of your home maintenance with Casa.

