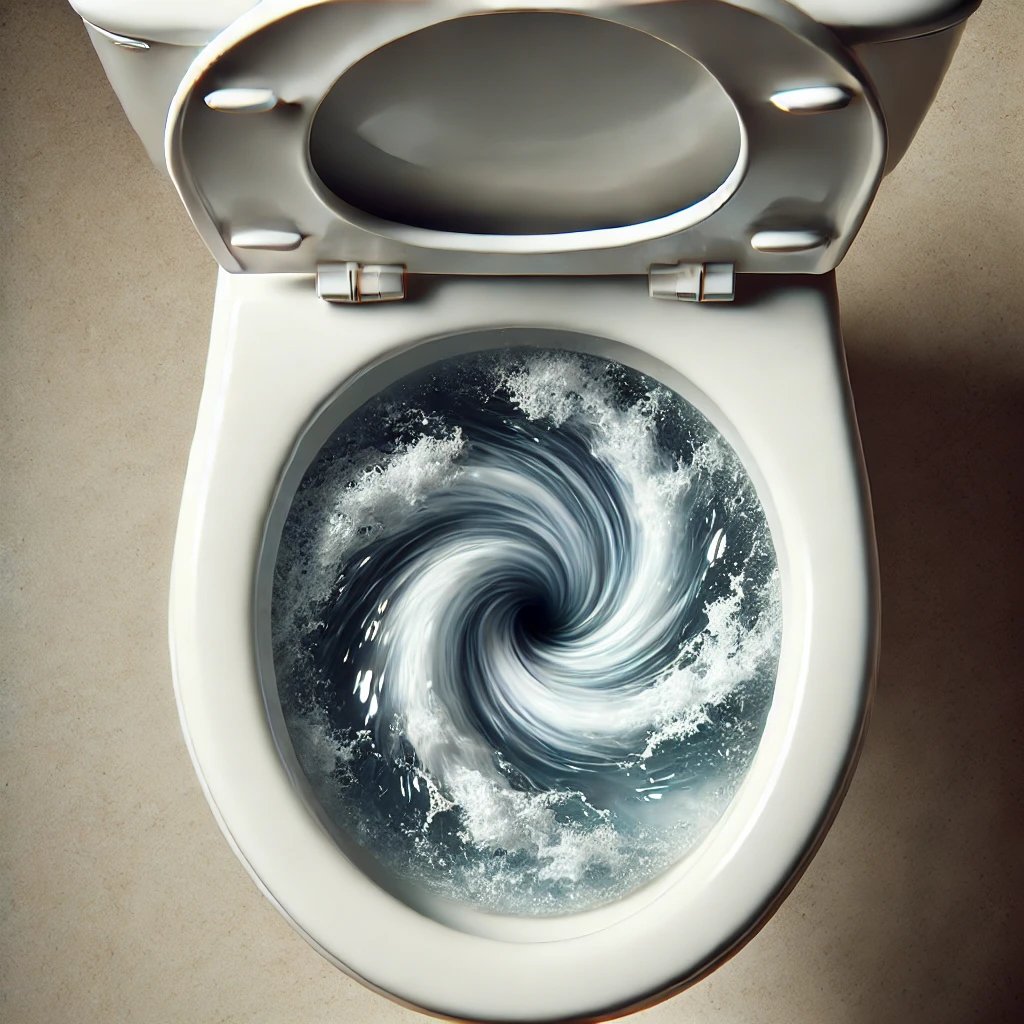
How to Fix a Running or Self-Flushing Toilet
A running toilet isn't just annoying---it can waste hundreds of gallons of water and increase your utility bill by $100s per year.
The good news? Fixing a toilet that keeps running is often simple and inexpensive. Whether your toilet keeps running constantly or occasionally flushes on its own (a phenomenon called "phantom flushing"), you can usually resolve the issue yourself in under 30 minutes.
In this guide, we'll walk you through step-by-step troubleshooting to help you stop your toilet from running and get it back in working order.

Common Causes of a Running Toilet
Before jumping into the fix, it helps to understand why your toilet won't stop running. Here are the most common culprits:
-
Faulty or misaligned flapper – The flapper is the rubber seal that covers the flush valve at the bottom of the tank. If it doesn't seal properly, water will keep flowing into the bowl.
-
Flapper chain is too tight or too loose – If the chain is too short, it prevents the flapper from sealing. If it's too long, it can get caught under the flapper.
-
Water level too high – If the fill valve lets in too much water, it can spill into the overflow tube, causing the toilet to run continuously.
-
Worn-out fill valve – A malfunctioning fill valve may not shut off properly, allowing water to continuously refill the tank.
-
Ghost flushing – If your toilet flushes on its own periodically, it usually means there's a slow leak from the tank to the bowl.
Now that you know what might be causing the issue, let's fix it!
Step-by-Step Guide to Fix a Running Toilet
Step 1: Open the Toilet Tank
Carefully remove the lid from the toilet tank and set it aside on a flat surface. Now, take a look inside to identify the issue.
Step 2: Check the Flapper Seal
The flapper is the rubber component at the bottom of the tank that lifts when you flush and then seals the opening when the tank refills. If it's not sealing correctly, water will continuously leak into the bowl, causing the toilet to keep running.
-
Push down on the flapper gently. If the running stops, the flapper isn't sealing properly.
-
Check for misalignment. Make sure the flapper is sitting correctly over the opening.
-
Inspect for damage. If the flapper looks cracked, warped, or deteriorated, it needs to be replaced.
Fixing a Flapper Issue
-
If the flapper is not sealing but is in good shape, adjust the chain length. It should have a little slack when the flapper is closed but not be so loose that it gets caught under the flapper.
-
If the flapper is damaged, follow these steps to replace it:
-
Turn off the water supply (usually located near the base of the toilet).
-
Flush the toilet to drain the water from the tank.
-
Unhook the old flapper from the flush valve.
-
Attach the new flapper to the flush valve and hook up the chain.
-
Turn the water supply back on and test the flush.
-
If your toilet now flushes and refills correctly, you've fixed the issue! If not, move on to the next step.
Step 3: Check If the Water Level is Too High
If the water level in the tank is rising above the overflow tube, it could be causing the toilet to run constantly.
-
Locate the fill valve and float. The fill valve is the vertical component that controls the water level.
-
Adjust the float. If it's a ball float, bend the metal arm slightly downward. If it's a cylindrical float, adjust the screw on top to lower the water level.
-
Flush the toilet and observe. If the water stops running once the correct level is reached, the problem is solved!
If the issue persists, you may need to replace the fill valve.
Step 4: Replace the Fill Valve
If adjusting the float doesn't stop the running, your fill valve may be worn out. Here's how to replace it:
-
Turn off the water supply to the toilet.
-
Flush the toilet to drain the tank completely.
-
Unscrew the water supply line from the bottom of the fill valve.
-
Remove the old fill valve by loosening the locknut at the base and lifting it out.
-
Install the new fill valve by placing it in the hole and tightening the locknut.
-
Reconnect the water supply line and turn the water back on.
-
Adjust the float height so the water stops at the correct level.
Flush the toilet to test. If the toilet stops running, you've successfully fixed the issue!
Step 5: Call a Plumber if the Problem Persists
If you've followed all the steps and your toilet is still running, it may be time to call in a professional. Some underlying issues, like a cracked overflow tube or internal tank damage, require expert repair.
How Much Does It Cost to Fix a Running Toilet?
Fixing a running toilet yourself is very affordable. Here's a breakdown of costs:
-
Flapper replacement: $5 - $15
-
Fill valve replacement: $10 - $25
-
Hiring a plumber: $100 - $250 (depending on location and complexity of the issue)
DIY fixes can save you a lot of money compared to hiring a professional. Plus, you'll gain a useful skill for future home maintenance!

Different Types of Toilet Flappers
Toilet flappers come in different designs, and using the right type for your toilet is crucial for a proper seal. Here are the most common types:
-
Rubber Flappers – The most common type, made from flexible rubber that creates a tight seal over the flush valve.
-
Seat Disk Flappers – These have a larger disk that sits on the flush valve. They are less common in modern toilets but are found in older models.
-
Tank Ball Flappers – These flappers use a floating ball connected to a lift rod to seal the flush valve.
-
Adjustable Flappers – These allow you to control the water flow rate to match the specific needs of your toilet, helping conserve water.
If you're replacing your flapper, check your toilet manufacturer's specifications to ensure compatibility.
Final Thoughts
A running toilet is one of the most common plumbing issues homeowners face, but it's also one of the easiest to fix. By following this guide, you can stop your toilet from running and avoid wasted water and high utility bills.
For more home maintenance tips and step-by-step repair guides, download the Casa app today. Casa makes DIY fixes easy and connects you with trusted professionals when needed. Whether you're tackling a minor issue or facing a major plumbing problem, Casa is here to support you every step of the way.

