How to Fix Peeling Wallpaper Like a Pro
There’s nothing quite like the feeling of walking into a beautifully decorated room—and nothing that shatters the illusion faster than a curling, peeling strip of wallpaper. It’s an eyesore that can make a perfectly polished space feel neglected. But don't despair! Fixing peeling wallpaper is one of those home repairs that looks more intimidating than it actually is.
The good news is that you can often fix this issue yourself in an afternoon, without needing to call in a professional. Whether it's a tiny corner lifting in the living room or a long seam coming loose in the hallway, we’re here to walk you through it.
In this guide, we'll help you play detective to find the root cause of the problem, show you how to perform seamless repairs on both small and large peels, and help you decide when it might be time to say goodbye to the old and hello to a fresh new look.
Why Is My Wallpaper Peeling in the First Place?
Before we grab the adhesive, it’s crucial to understand why your wallpaper is coming off the wall. Fixing the peel without addressing the cause is like putting a bandage on a wound that needs stitches—it’s just a temporary fix.
Here are the most common culprits:
- Humidity and Moisture: This is the number one enemy of wallpaper. Bathrooms and kitchens are prime locations for peeling due to steam from showers and cooking. However, moisture can also come from less obvious sources, like a slow pipe leak inside a wall, condensation around windows, or even a leak from the roof.
- Poor Wall Preparation: The person who hung the wallpaper might have skipped a crucial step. If the wall wasn't properly cleaned, primed, or sized before application, the adhesive never formed a strong bond, and it was only a matter of time before it let go.
- Improper Adhesive Application: Using the wrong type of adhesive for the wallpaper material, or not applying a consistent, even coat, can lead to weak spots that eventually peel and lift.
- Age: Wallpaper adhesive, like all good things, doesn't last forever. After 10-15 years, the paste can dry out and lose its grip, especially in areas with fluctuating temperatures or direct sunlight.
- Settling of the House: In new homes, tiny shifts and settling can create stress on walls, causing seams to separate or pull away.
Identifying the cause is your first step toward a permanent fix.
Step 1: Your Initial Inspection
Alright, let's start by figuring out exactly what we're dealing with. Think of yourself as a wall detective for the next ten minutes.
First, turn on all the lights in the room to get a clear view of the damage. Gently run your hand over the peeling areas and along the seams. Is it just one spot, or are multiple sections lifting?
Now, let's check for the big one: moisture.
- Look for Stains: Do you see any dark spots, discoloration, or blistering on the wallpaper or the wall behind it?
- Feel for Dampness: Carefully touch the exposed wall behind the peeling section. Does it feel damp or cold?
- Use Your Nose: Is there a musty, mildewy smell? This is a tell-tale sign of a persistent moisture problem.
- Check the Surroundings: Widen your search. Look for signs of water damage on the ceiling above, around nearby windows, or near any plumbing fixtures in the wall.
If you answered "yes" to any of the moisture-related questions, you've found your culprit. We need to address that before doing anything else. If the area is completely dry, you're likely dealing with a simple adhesive failure, and you can skip to Step 3.
Step 2: How to Address a Moisture Problem
If you've discovered dampness, you absolutely must solve the moisture issue before attempting to repair the wallpaper. Gluing wallpaper onto a damp wall is a recipe for mold growth and will fail again in no time.
- Find the Source: Pinpoint where the water is coming from. Check nearby pipes for drips, inspect window frames for gaps or condensation, and look for any stains on the ceiling that could indicate a roof leak. Tighten any loose plumbing fittings you find.
- Know When to Call for Help: If you discover an active leak in a pipe or from your roof that you can't easily stop, this is the time to call a professional plumber or contractor. It's better to get an expert opinion than to risk major water damage.
- Dry the Wall Completely: Once the leak is fixed, you need to get the wall bone-dry. Place a box fan a few feet from the damp area and aim it directly at the wall. Let it run continuously for at least 24 hours. Don't rush this step—patience is key!
Once the wall is completely dry, you can proceed with the wallpaper repair.
Step 3: Identify Your Wallpaper Type
Did you know that different types of wallpaper require different types of glue? Using the wrong kind can lead to a weak bond or even damage the wallpaper itself. It’s easy to figure out what you have with a simple test.
In an inconspicuous spot (like behind a piece of furniture), gently scratch the surface of the wallpaper with your fingernail.
- If it feels slick, slightly plasticky, and resists the scratch, you have vinyl or fabric-backed wallpaper.
- If it feels more like paper and your nail lifts up tiny fibers, you have traditional paper wallpaper.
Now that you know your wallpaper type, you can choose the right adhesive and repair method.
Step 4: How to Repair Peeling Wallpaper Seams and Corners
This is where the magic happens! We'll break this down by the size of the peel. Grab your tools, and let's get that wallpaper back where it belongs.
For Small Peels (Less than a square foot)
This is the most common scenario—a curling corner or a lifting seam. It's a quick and satisfying fix.
If you have Vinyl or Fabric-Backed Wallpaper:
- Tools: Putty knife, damp sponge, clean towel, vinyl-on-vinyl wallpaper adhesive, wallpaper seam roller.
- Steps:
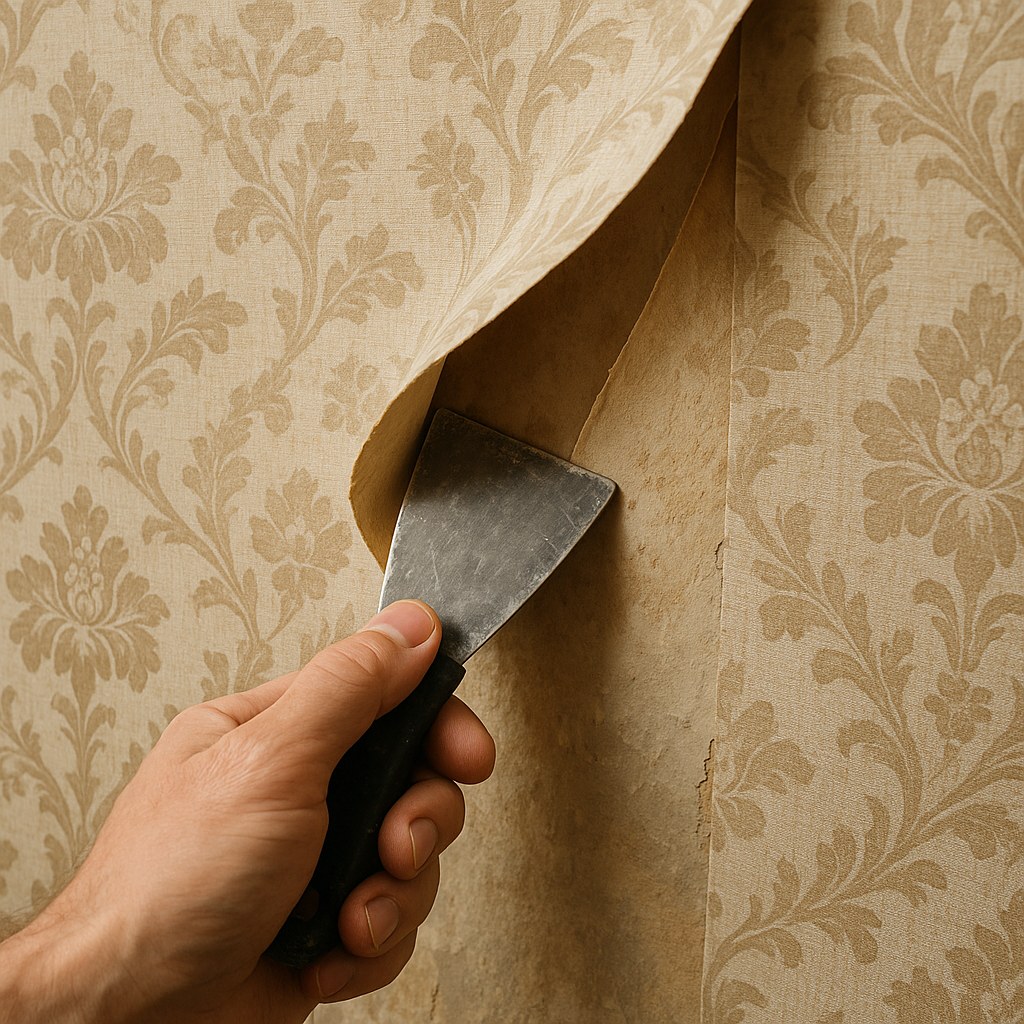
- Carefully lift the loose flap with your putty knife.
- Use the damp sponge to gently wipe down the exposed wall and the back of the wallpaper to remove any old adhesive dust and debris. Pat it dry with the towel.
- Squeeze a thin, even line of vinyl adhesive onto the back of the wallpaper flap.
- Press the flap firmly against the wall, smoothing it from the center out toward the edge with your hand.
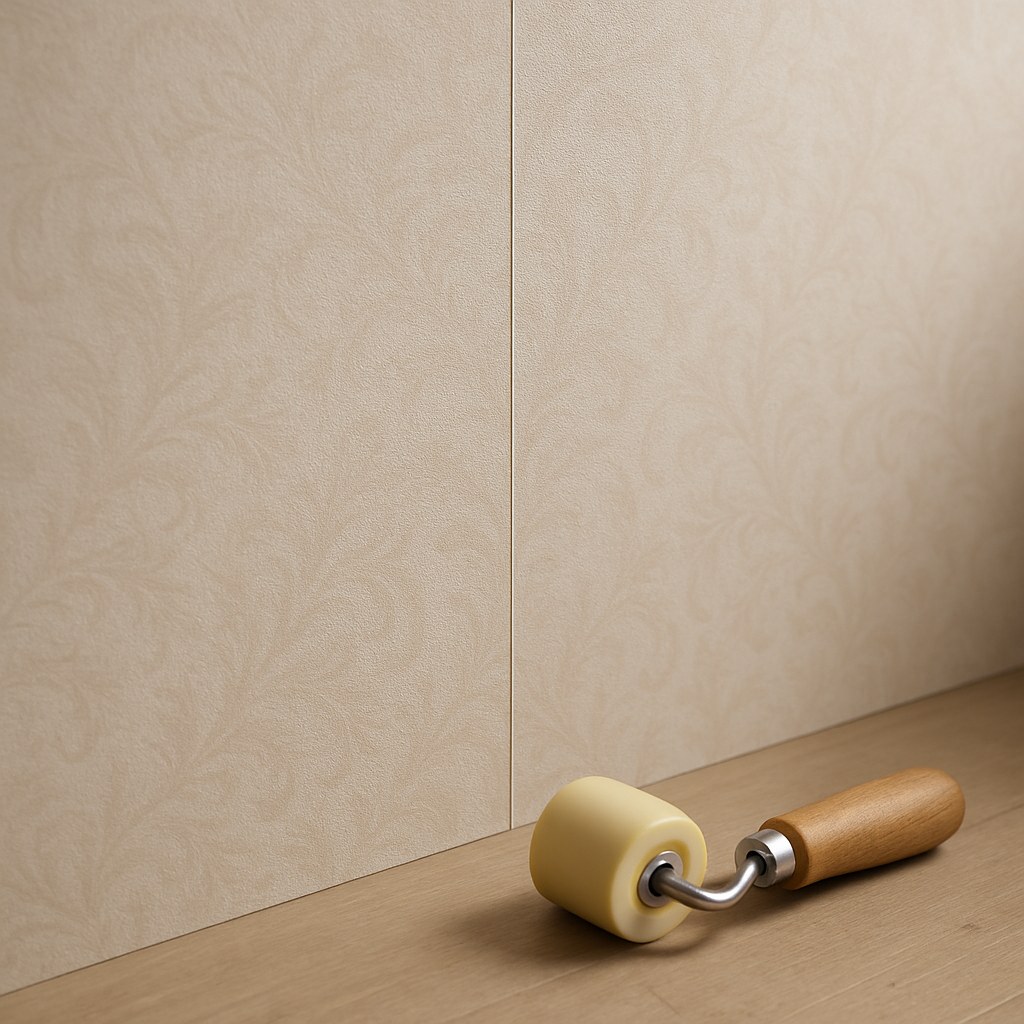
- Use the seam roller to press the seam down securely. Roll from the adhered part of the wallpaper over the repaired section. This pushes out air bubbles and ensures a strong bond.
- Immediately wipe away any excess adhesive that squeezes out with your damp sponge.
If you have Paper Wallpaper:
- Tools: Putty knife, sponge, towel, wallpaper paste, small paintbrush, wallpaper seam roller.
- Steps:
- Gently lift the loose wallpaper flap with the putty knife.
- Wipe down the wall and the back of the paper with a damp sponge and pat dry.
- Using your small paintbrush, apply a thin, even coat of wallpaper paste to the back of the flap. Make sure to cover it all the way to the edges.
- Press the wallpaper back onto the wall, smoothing it with your hand.
- Roll over the seam with your seam roller to secure it.
- Wipe away any excess paste with a damp sponge before it dries.
For Large Peels
If you have a whole section or a long strip peeling down, the process is similar but requires a bit more care to avoid stretching or tearing the wallpaper.
If you have Vinyl or Fabric-Backed Wallpaper:
- Lay a drop cloth to protect your floor.
- Use a utility knife to make a clean, horizontal cut at the very top of the loose section, where the wallpaper is still firmly attached. This prevents you from pulling down more than you intend to.
- Peel the wallpaper down to the cut line.
- Scrape any large chunks of old, dry adhesive from the wall with a putty knife.
- Wipe the wall clean with a damp sponge and let it dry for about 10 minutes.
- Using a small paintbrush, apply a generous coat of vinyl adhesive directly onto the exposed wall.
- Carefully press the wallpaper back into place, starting from the top cut line and working your way down. Smooth it with your hand as you go.
- Roll all the seams firmly with your seam roller.
- If you notice any air bubbles, you can prick them with a pin, gently squeeze the air out, and roll them flat.
- Wipe away all excess adhesive with a damp sponge.
If you have Paper Wallpaper:
The steps are nearly identical to vinyl, but you'll be using wallpaper paste.
- Follow steps 1-5 from the vinyl instructions above.
- Using a small paint roller or brush, apply a uniform coat of wallpaper paste to the exposed wall.
- Carefully lift the wallpaper flap back into place, starting at the cut line.
- Smooth it with your hands from the center outwards to push out any air.
- Roll the seams with the seam roller and wipe off any excess paste.
When Is It Time to Strip and Replace Your Wallpaper?
Sometimes, a repair just isn't enough. It might be time for a fresh start if you're facing one of these situations:
- The Wallpaper is Old: If your wallpaper was installed more than 10-15 years ago, the paper itself may be brittle and the adhesive throughout the room is likely failing.
- There Are Multiple Large Peeling Areas: If you're seeing peeling in several spots around the room, it's a sign of widespread adhesion failure. Patching one spot will likely just lead to another one peeling soon after.
- The Damage is Extensive: If the wallpaper is torn, stained, or has bubbled significantly due to moisture, a simple re-adhesion won't fix the cosmetic damage.
Stripping old wallpaper can be a big job, but it's also the perfect opportunity to refresh your space. It involves scoring the surface, soaking it with a removal solution, scraping it off, and then thoroughly prepping the wall (cleaning, patching, and priming) before you can hang new wallpaper or paint.
Final Thoughts
A peeling wallpaper seam doesn't have to be a permanent blemish on your wall. With a little investigation and the right technique, you can restore your walls to their former glory. By diagnosing the cause, choosing the right adhesive, and applying it carefully, you can achieve a professional-looking repair that lasts.
Ready to tackle more home projects? For hundreds of easy-to-follow DIY guides and direct access to trusted home professionals, download the Casa app today. We're here to help you manage and maintain your home with confidence.

