How to Fix Warped Wood Floors: A DIY Diagnostic Guide
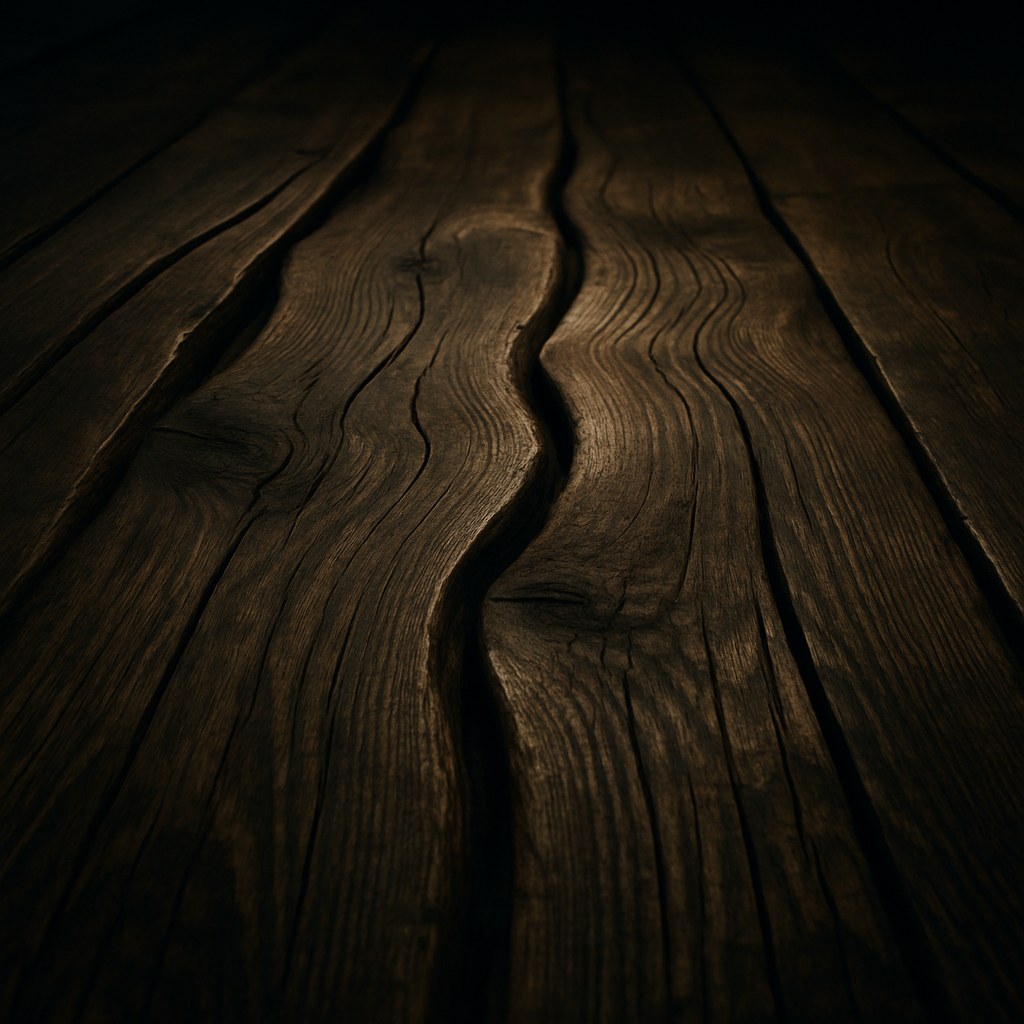
There are few home maintenance issues more startling than looking down and seeing your beautiful, flat wood floors suddenly rippling like waves on the ocean. Whether the boards are cupping (edges are higher than the center), crowning (the center is higher than the edges), or buckling, warped wood is a clear sign that something is wrong.
The immediate reaction is often panic, followed by visions of costly repairs and replacements. But before you start budgeting for a new floor, take a deep breath. In many cases, you can diagnose and even fix the problem yourself. Warped wood is almost always a symptom of one thing: excess moisture. The key is to find the source of that moisture, eliminate it, and give your floors a chance to return to their former glory.
In this guide, we'll act as your friendly expert on the other end of the line, walking you through how to inspect the damage, identify the cause, and take the right steps to fix your warped wood floors.
Why Do Wood Floors Warp in the First Place?
To understand the fix, it helps to understand the science. Wood is a natural, porous material, which means it’s hygroscopic—it absorbs and releases moisture from its environment. When wood planks absorb more moisture on one side than the other, they expand unevenly, causing them to bend and change shape.
This moisture imbalance can come from a few common culprits:
- Localized Spills and Leaks: An overflowing dishwasher, a leaky pipe under the sink, an unnoticed pet accident, or even an overwatered houseplant can saturate a small area of your floor.
- High Indoor Humidity: This is a more widespread issue. If the relative humidity in your home is consistently too high, the top surface of the wood planks will absorb moisture from the air, causing them to swell and cup.
- Moisture from Below: Sometimes, the problem isn’t in the room itself but underneath it. A damp basement, a crawl space with poor ventilation, or a leak in the subfloor can push moisture vapor up into the bottom of your floorboards.
According to the National Wood Flooring Association, the ideal indoor relative humidity for hardwood floors is between 30% and 50%. When it creeps above that for extended periods, you’re creating the perfect environment for warping.
Step 1: Inspect the Damage and Assess the Situation
First things first, let's play detective. We need to figure out the scope of the problem. Is this a small, isolated issue or a room-wide phenomenon?
Grab a ruler or any long, flat straightedge and a roll of painter's tape.
- Check the Severity: Lay your ruler across the warped boards. Note the size of the gap between the ruler and the lowest point of the cupped board. This gives you a baseline for how severe the warping is.
- Map the Damage: Walk around the entire room and carefully examine every plank. Place a small piece of painter's tape on each board that shows signs of warping.
- Identify the Pattern: Once you're done, step back. Is the tape concentrated in one spot, like near the refrigerator or under a window? Or is it scattered across the entire room?
- Look for Obvious Sources: If the damage is localized, look for the usual suspects nearby. Check for leaks around radiators, sinks, appliance hoses, and even air conditioning units.
This initial inspection will guide you down one of two paths. If the warping is limited to just a few boards in one area, you’re likely dealing with a localized moisture source. If the boards are warped all over the room, the culprit is probably high ambient humidity.
Step 2: How to Fix Localized Warping (Leaks and Spills)
If your painter's tape is clustered in one spot, your next mission is to confirm the presence of moisture and then dry the area out.
A. Find the Source
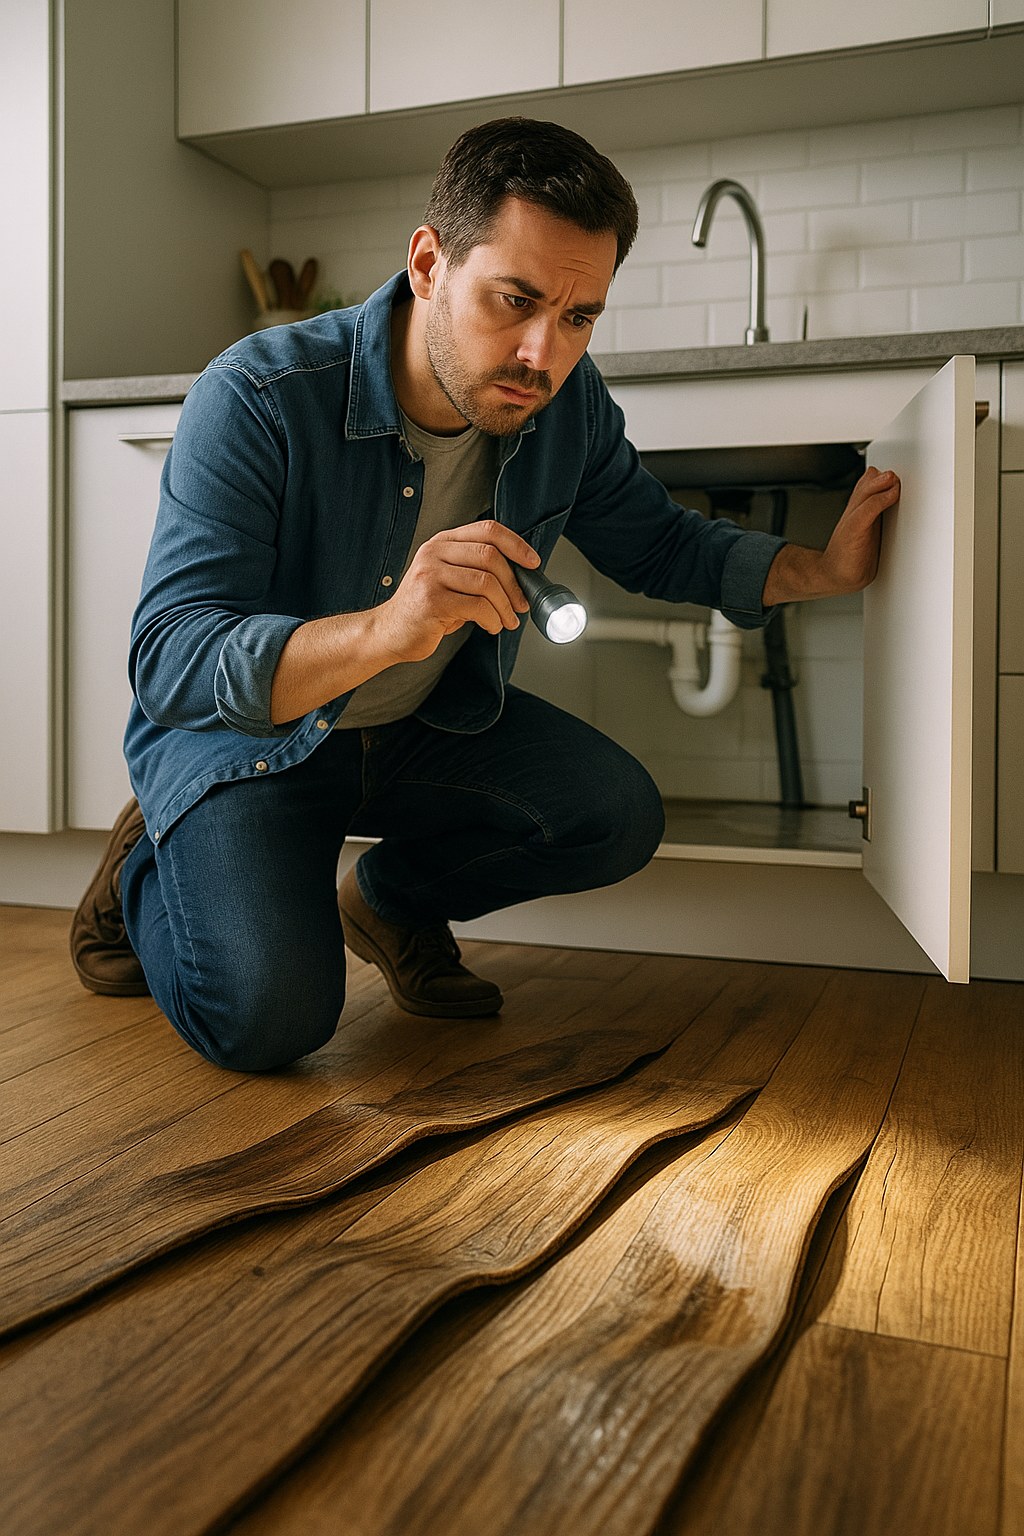
Before you can fix the floor, you must fix the leak. Kneel down and inspect the area closely.
- The Paper Towel Test: Press a dry paper towel firmly against the warped boards and in the seams between them. Does it pick up any dampness?
- Check Your Surroundings: Meticulously inspect any nearby plumbing fixtures, hoses, or appliances. Look for drips, condensation, or water stains on walls or inside cabinets.
- Use Your Nose: Does the area have a musty or mildewy smell? This is a tell-tale sign of hidden moisture.
Once you’ve found and repaired the source of the water, you can focus on the floor.
B. Dry the Boards and Encourage Flattening
If the boards are still damp to the touch, it’s time for active drying.
- Soak Up Standing Water: Use old towels or rags to blot any visible water from the surface and cracks.
- Bring in the Machines: Place a dehumidifier as close to the affected area as possible and run it on its highest setting. At the same time, set up a fan to blow air directly across the surface of the boards to speed up evaporation.
- Apply Gentle Pressure: This is a great pro tip. Find a flat, heavy object, like a piece of plywood or even a stack of encyclopedias on top of a towel. Place it over the warped area. The gentle, consistent weight can help encourage the boards to flatten as they dry.
- Be Patient: Let this setup work its magic for at least 48 hours. Resist the urge to check on it too often.
After two days, remove the weight and check your progress. Are the boards noticeably flatter? If so, congratulations! You’ve likely solved the problem. The boards may continue to improve over the next week or two.
C. What If the Boards Are Dry But Still Warped?
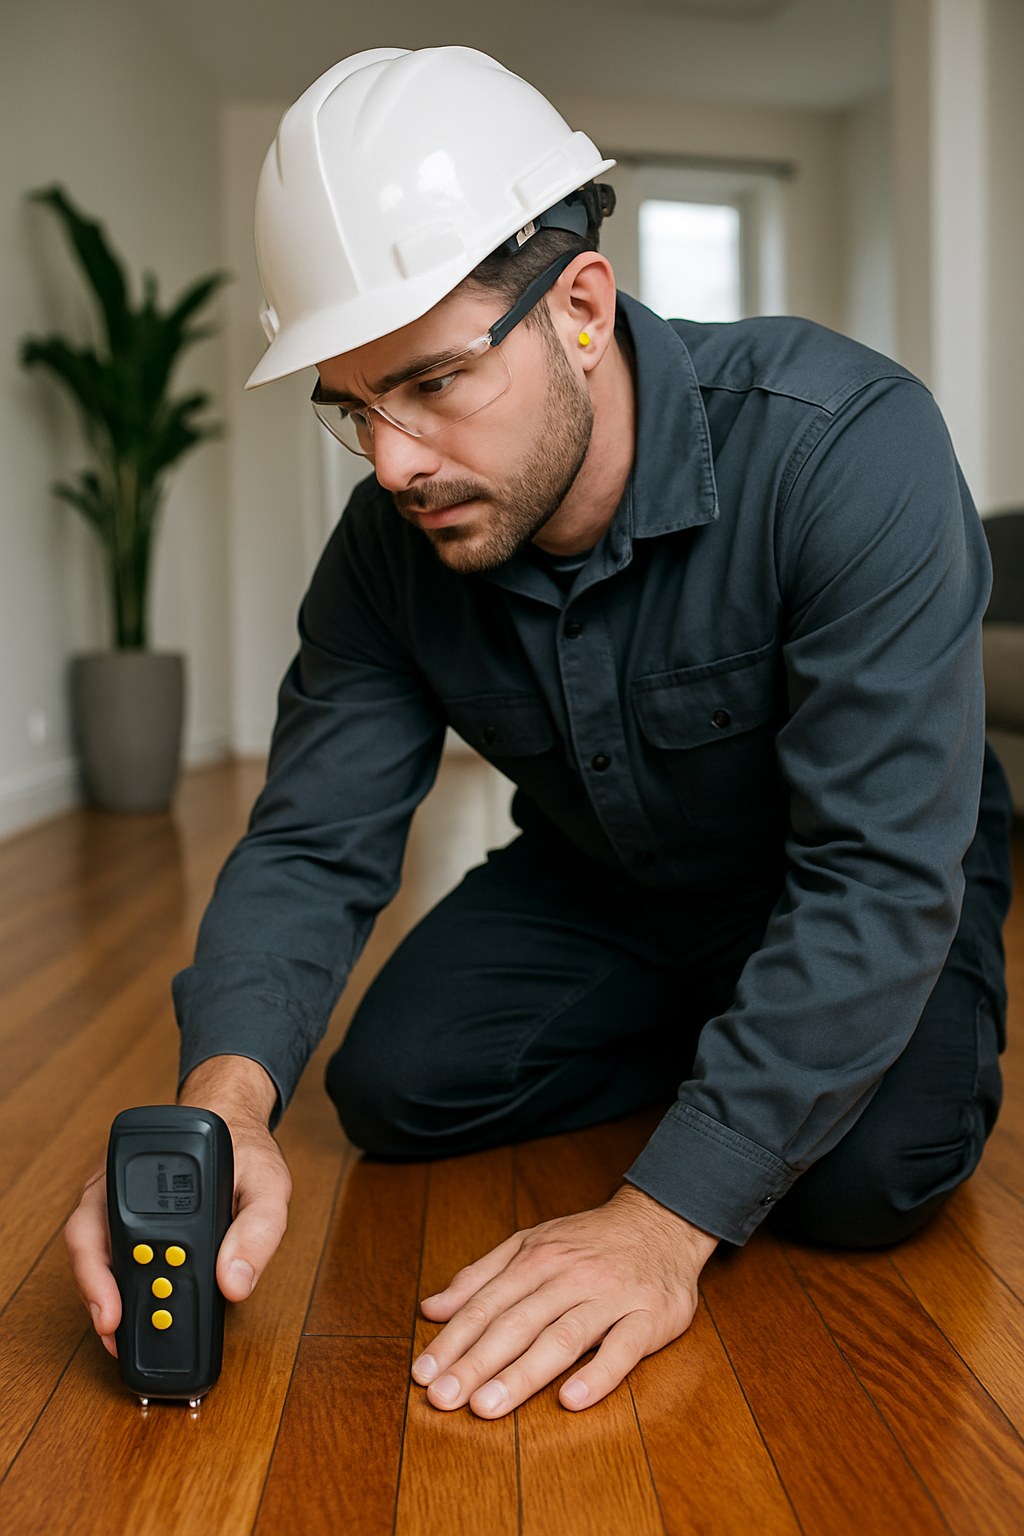
Sometimes, you might find a warped spot from an old leak that has already dried out. In this case, the moisture might be trapped deep inside the wood. To figure this out, you’ll need a tool called a pin-type moisture meter. You can buy one at most home improvement stores for around $30-$50.
- Get a Baseline: First, test a board in a different part of the room that isn't warped to see what the normal moisture content is.
- Test the Warped Boards: Now, push the pins of the meter into the warped boards and record the reading.
- Analyze the Results: Healthy, dry wood flooring should generally have a moisture content between 6% and 12%. If your warped boards are reading significantly above 12%, it means there is still trapped moisture inside, possibly from a hidden or ongoing leak.
If the meter reads high, it's time to call a flooring contractor. They have the tools and expertise to find hidden moisture sources (like in the subfloor) that you can't see. If the moisture reading is normal (under 12%), the warping may be minor and permanent. However, it's worth giving the boards a few weeks to see if they settle down on their own before deciding on a replacement.
Step 3: How to Fix Widespread Warping (High Humidity)
If your inspection in Step 1 revealed warped boards all over the room, the problem is likely in the air. You’re dealing with high indoor humidity.
A. Measure the Humidity
You can’t fix what you can’t measure. Pick up an inexpensive digital hygrometer to get an accurate reading of the room’s relative humidity. Place it in the center of the room, wait about 10-15 minutes, and check the reading. Is it above 60%? If so, we’ve found our culprit.
B. Lower the Humidity and Wait
Your goal is to create a stable environment where the humidity stays between 40% and 55%.
- Run a Dehumidifier: This is your most powerful tool. Run a dehumidifier continuously in the room, setting it to maintain a level of around 45%. You'll likely need to empty its water tank daily at first.
- Improve Air Circulation: Use ceiling fans or portable fans to keep the air moving. Stagnant, humid air is the enemy.
- Use Your A/C: Your air conditioner is a natural dehumidifier. Running it during humid months will help pull moisture out of the air.
This is not a quick fix. It can take two weeks or more for the wood to slowly release its excess moisture and begin to flatten out. Be patient and monitor the hygrometer daily. If the floors are noticeably flatter after a couple of weeks of controlled humidity, you're on the right track!
When Should You Call a Flooring Professional?
While many warping issues can be improved with DIY methods, some situations require an expert. It's time to call a flooring specialist if:
- You've dried a localized leak, but the boards remain severely warped. The damage may be too extensive to correct itself.
- A moisture meter reveals high moisture content, but you can't find the source. There could be a serious issue in your subfloor or foundation.
- You've controlled the room's humidity for weeks, but the widespread warping hasn't improved.
- The boards have buckled dramatically, pulling away from the subfloor completely.
A professional repair for a few boards might cost a few hundred dollars. However, if the subfloor is damaged or a large area needs to be replaced, the cost can rise significantly. According to Forbes Home, minor repairs can cost between $100 and $500, while major board replacements can run into the thousands.
Final Thoughts: Prevention is Key
Once you've restored your floors, the best thing you can do is prevent the problem from happening again.
- Clean up spills immediately. Don't let water sit on the wood.
- Place waterproof mats under pet bowls and inside entryways.
- Monitor your indoor humidity and keep it within the 30-50% range year-round.
- Regularly inspect hoses and pipes for any signs of leaks.
Tackling a home repair issue like warped floors can feel daunting, but with the right knowledge, it's a manageable task. By following these diagnostic steps, you can get to the root of the problem and take control of the situation.
For more expert-guided DIY projects, maintenance reminders, and a direct line to trusted local professionals for the jobs you can't handle alone, download the Casa app today! We’re here to help you care for your home with confidence.

