How to Replace an Electrical Outlet: A Step-by-Step Guide
Are you dealing with a broken electrical outlet? Maybe it's not providing power, or you see visible signs of wear and tear? Or maybe you just want a different type of outlet?
Don't worry---you don't always need to call an electrician for this fix. Replacing an electrical outlet is a straightforward DIY project that most homeowners can tackle with just a few basic tools.
In this guide, we'll walk you through how to replace an electrical outlet safely and efficiently. By following these steps, you'll have a brand-new, functional outlet in no time. Let's get started!

Why Replace an Electrical Outlet?
There are several reasons you might need to replace an outlet:
- The outlet is no longer providing power.
- You see burn marks, cracks, or other visible damage.
- Plugs won't stay in the outlet.
- You want to upgrade to a modern outlet, such as one with USB ports.
If you notice signs of electrical arcing, burning smells, or blackened areas, stop immediately and call an electrician. This could be a sign of a more serious wiring problem.
Types of Electrical Outlets
Before replacing your outlet, it's important to know the different types available. Here are some common options:
- Standard Outlets (Duplex Receptacles): These are the most common outlets found in homes, featuring two plug-in slots.
- GFCI Outlets (Ground Fault Circuit Interrupter): Required in kitchens, bathrooms, garages, and outdoor areas, these outlets help prevent electrical shock by shutting off power if a fault is detected.
- AFCI Outlets (Arc Fault Circuit Interrupter): These outlets protect against arc faults, which can cause fires, and are required in bedrooms and living spaces in newer homes.
- USB Outlets: These outlets come with built-in USB ports for charging devices without using bulky adapters.
- Smart Outlets: Compatible with smart home systems, these outlets allow remote control via Wi-Fi or Bluetooth.
- Tamper-Resistant Outlets: Designed with built-in shutters to prevent foreign objects from being inserted, making them a safer option for homes with children.
Choosing the right outlet depends on the location, safety requirements, and any additional features you may need.
How to Replace an Electrical Outlet
Tools and Materials Needed:
- Screwdriver (flathead and Phillips)
- Voltage tester (optional but recommended)
- Needle-nose pliers
- New electrical outlet (same type as the old one)
- Electrical tape (optional)
Step 1: Turn Off the Power
The most important part of any electrical work is safety. Never work on an outlet while the power is on!
- Find your home's electrical panel, usually in a basement, garage, closet, or outside.
- Open the panel and look for labels next to each circuit breaker.
- Identify the breaker that controls power to the outlet you're replacing.
- Flip the circuit breaker to the off position.
To ensure the power is off, plug in a lamp or use a voltage tester in the outlet. If the lamp doesn't turn on or the tester reads zero volts, you're good to go!
Pro tip: Not sure how to navigate your electrical panel? Download Casa and we'll do it with you step-by step!
Step 2: Remove the Old Outlet
- Unplug everything from the outlet before proceeding.
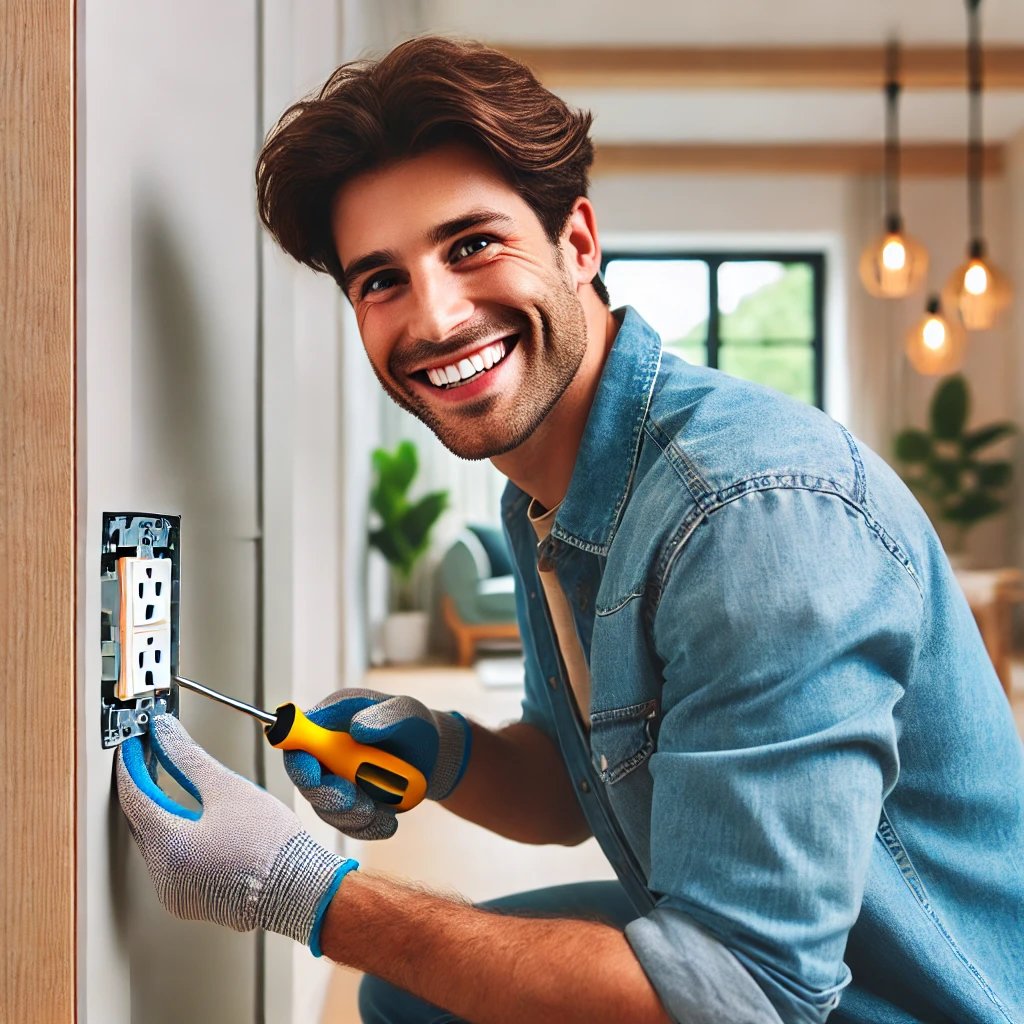
- Use a screwdriver to remove the outlet cover (the faceplate).
- Carefully inspect the wires. Do any look damaged?
- If yes: Stop and call an electrician.
- If no: Continue to the next step.
- Use a screwdriver to remove the screws holding the outlet in place.
- Loosen the screws on the sides of the outlet that hold the wires.
- Take note of where each colored wire is connected before
detaching them.
- Black (hot) wire goes to the brass screw.
- White (neutral) wire goes to the silver screw.
- Green or bare copper (ground) wire goes to the green screw.
Pro tip: Take a picture with your phone before disconnecting the wires!
Step 3: Install the New Outlet
- Using your notes (or the picture you took), connect the wires to
the new outlet.
- Hook each wire around its respective screw in the same way as the old outlet.
- Tighten the screws to secure the wiring.
- Carefully push the outlet back into the electrical box.
- Use a screwdriver to reinstall the outlet cover.
Step 4: Restore Power & Test the Outlet
- Return to the electrical panel and flip the circuit breaker back to the "on" position.
- Test the outlet by plugging in a small appliance or using a voltage
tester.
- If the outlet works and is securely in place → Congrats, you've successfully replaced it!
- If the outlet doesn't work or is loose → Double-check your wiring or call an electrician for assistance.

How Much Does It Cost to Replace an Electrical Outlet?
If you do it yourself, the cost is minimal:
- Standard electrical outlet: $3--$10
- GFCI outlet (for bathrooms/kitchens): $15--$25
- Tools (if needed): $10--$30
If you hire an electrician, the average cost is $100--$250 per outlet, depending on your location and the complexity of the job.
(Source: HomeAdvisor)
When to Call an Electrician
While this is a common DIY project, some situations require professional help:
- Damaged wires or signs of burning.
- The outlet still doesn't work after replacement.
- You're not comfortable working with electrical components.
- You need to install a GFCI outlet in a wet area (kitchen, bathroom, garage).
Final Thoughts
Replacing an electrical outlet is a simple yet essential home maintenance skill. With just a few tools and safety precautions, you can get the job done in under 30 minutes and save money in the process.
For more home maintenance tips and step-by-step repair guides, download the Casa app today. Casa Casa makes DIY fixes easy and connects you with trusted professionals when needed. Whether you're tackling a minor issue or facing a major electrical problem, the Casa app is here to support you every step of the way.

